Easy Granny Square Crochet Pattern for Beginners
Granny square crochet pattern is one of the easiest ways to learn how to crochet a granny square, especially if you’re just getting started. This simple, beginner-friendly pattern uses basic crochet stitches and can be made with almost any yarn and hook size.
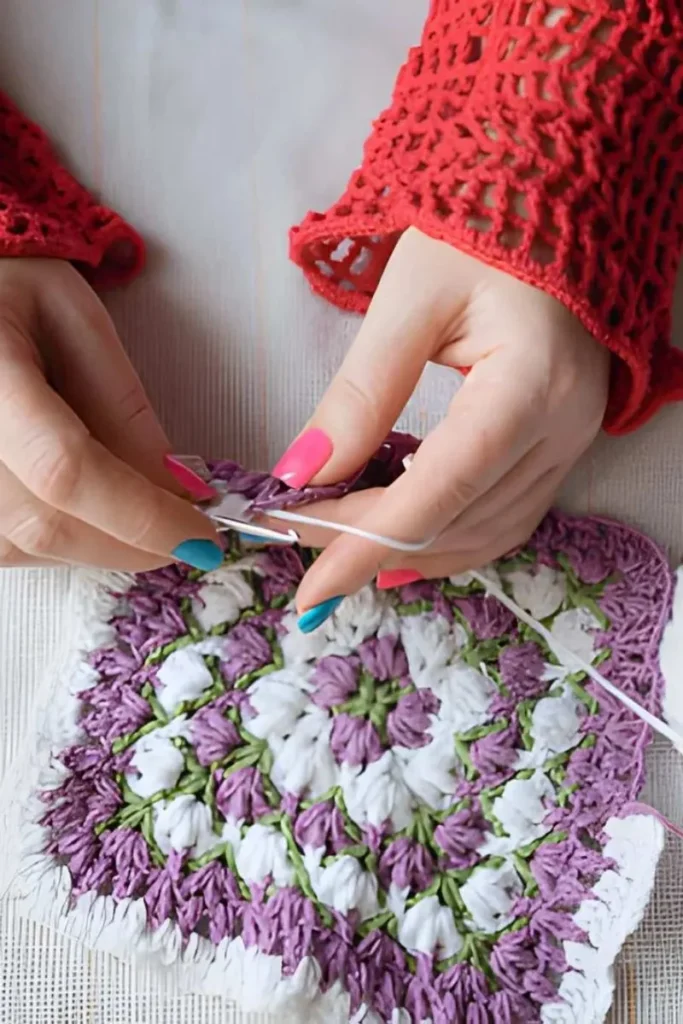
In this guide, I’ll show you how to make a granny square step by step, including how to work each round, change colors, keep your square flat and finish it neatly. Once you learn this basic granny square pattern, you can use it to create blankets, bags, pillows and many other crochet projects.
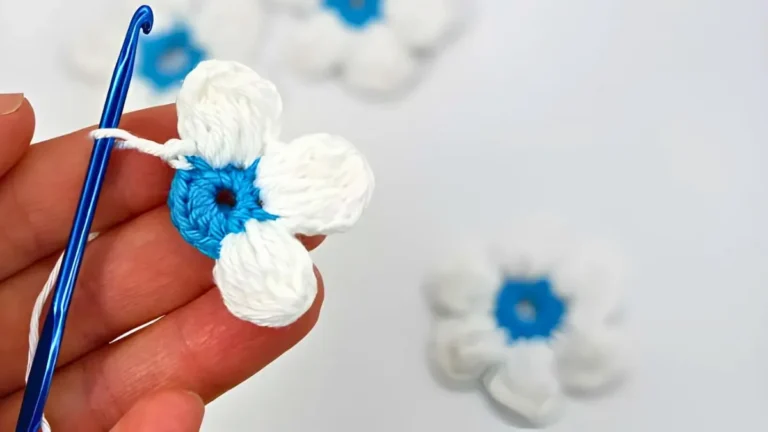
If you enjoy making simple crochet projects, you can also try my easy crochet flower pattern for beginners. It’s another beginner friendly project that uses basic crochet techniques and is a fun way to practice your stitches while creating a small decorative piece.
What Is a Granny Square?
A granny square is a small crochet piece worked in rounds from the center outward. The classic design usually has groups of double crochet stitches separated by chain spaces, creating a simple square shape with open spaces between the stitches.
Granny squares are popular because they are easy to customize. You can use different yarn colors, make the square small or large and combine multiple squares to create blankets, bags, pillows, scarves and other projects.
If you are new to crochet, learning a basic granny square pattern is a great place to start. Once you understand the basic stitches and how each round is built, you can explore many different crochet granny square patterns and create your own color combinations and designs.
The best part is that you do not need complicated techniques to get started. With a few basic stitches and some practice, you can learn how to crochet a granny square and build your confidence with crochet.
Materials You’ll Need for Granny Square Crochet Pattern
You only need a few basic supplies to make this granny square crochet pattern. It is a beginner-friendly project, so you do not need any special crochet tools.
- Yarn: Worsted-weight yarn is a good choice for your first granny square. You can use one color or several colors for a traditional look.
- Crochet hook: Choose a hook size that works well with your yarn. For worsted-weight yarn, a 5 mm (H-8) hook is a good starting point.
- Scissors: Use a small, sharp pair of scissors to cut the yarn cleanly.
- Yarn needle: A tapestry needle helps you weave in the loose ends when your square is finished.
Crochet Abbreviations
- ch = chain
- dc = double crochet
- sl st = slip stitch
- st = stitch(es)
If you’re unsure about yarn weight or crochet terminology, the Craft Yarn Council’s yarn standards are a useful reference when choosing materials for your project.
Helpful Tip: If you are learning how to make a granny square for the first time, start with a medium-weight, smooth yarn in a light color. It makes the stitches and spaces easier to see while you practice the basic granny square pattern.
How to Crochet a Granny Square
Learning how to crochet a granny square is easier than it may look. Once you understand how the corners and clusters are formed, the same basic technique can be repeated to make larger squares or completely different crochet projects.
New to crochet abbreviations? The Craft Yarn Council’s crochet standards can help you understand common terms and stitch abbreviations used in patterns.
This crochet granny square pattern uses basic stitches and is suitable for beginners. Work each round carefully, keeping your tension even so the square stays flat.
Round 1: Create the Center
Start with a magic ring, or chain 4 and join with a slip stitch to form a small ring.
- Chain 3. This counts as your first double crochet.
- Work 2 double crochet stitches into the center of the ring.
- Chain 2 to create the first corner.
- Work 3 double crochet stitches into the ring, then chain 2.
- Repeat this sequence two more times.
- Join the round with a slip stitch to the top of the beginning chain-3.
You should now have four groups of 3 double crochet stitches and four corner spaces. Gently pull the center closed if you started with a magic ring.
Round 2: Build the Corners
For the second round, you will work into the corner spaces created in Round 1.
- Slip stitch across to the next corner space if needed.
- Chain 3, then work 2 double crochet stitches into the same corner.
- Chain 2, then work 3 double crochet stitches into the same corner space.
- Chain 1.
- In the next corner space, work 3 double crochet, chain 2, then 3 double crochet.
- Repeat around the square, adding the same cluster to each corner.
- Join with a slip stitch to the top of the beginning chain-3.
At the end of Round 2, you should have two 3-double-crochet clusters in each corner.
Round 3: Continue the Granny Square
Now the square starts to become more recognizable. Each corner will receive two clusters, while the side spaces will receive one cluster.
- Move to the next corner space with slip stitches if necessary.
- Chain 3 and work 2 double crochet into the corner.
- Chain 2, then work 3 double crochet into the same corner.
- Chain 1.
- Work 3 double crochet into the next side space, then chain 1.
- Repeat the corner pattern in the next corner.
- Continue around the square, placing one cluster in each side space and two clusters in each corner.
- Join the round with a slip stitch.
Adding More Rounds
To make your granny square larger, simply repeat the same basic pattern.
Work 3 double crochet, chain 1 into each side space. At every corner, work 3 double crochet, chain 2, 3 double crochet.
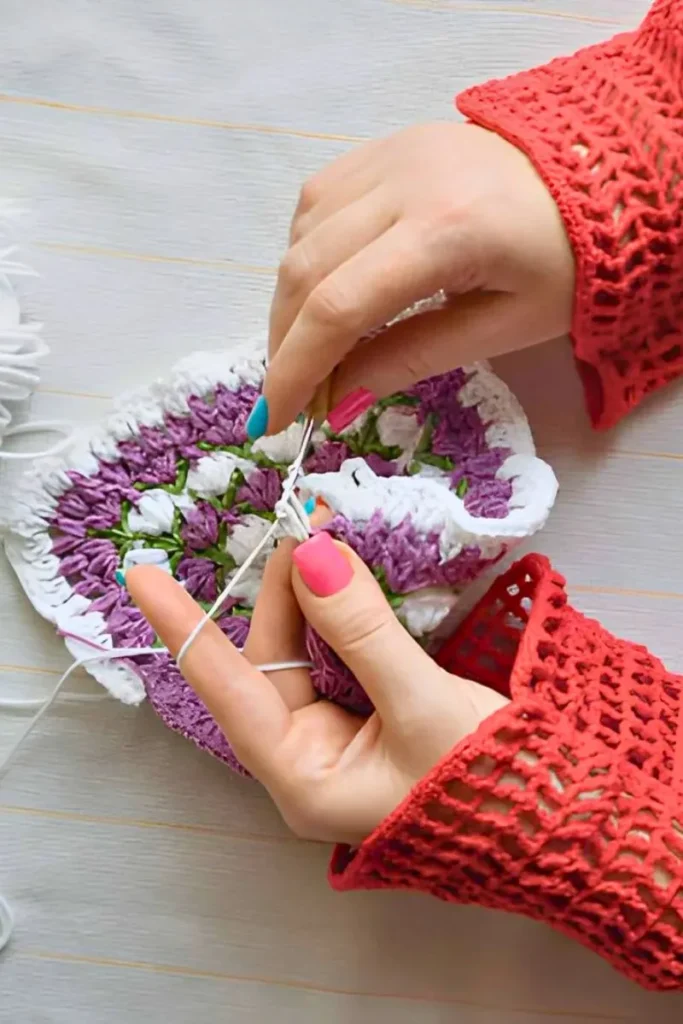
Continue adding rounds until your square reaches the size you need. This simple method is the foundation of many granny square crochet patterns, from small motifs to large blanket squares.
Easy Basic Granny Square Crochet Pattern at a Glance
For a quick reference, remember this simple rule:
- Corners: 3 dc, ch 2, 3 dc
- Side spaces: 3 dc
- Between clusters: ch 1
- Each new round: repeat the same structure around the square
This easy basic granny square crochet pattern becomes much easier after making a few rounds. Keep your stitches relaxed and check your corners regularly to make sure the square stays even.
How to Change Colors in a Granny Square
Changing colors is an easy way to give your granny square a more colorful and personal look. You can use a new color at the end of any round or change colors between rounds to create different patterns.
How to Add a New Color
- Finish the current round: Complete the last stitch of the round, but stop before making the final pull-through.
- Attach the new yarn: Use the new color to make the final pull-through of the last stitch.
- Continue the next round: Secure the new yarn and begin working the next round according to the pattern.
- Weave in the ends: Once the square is finished, use a yarn needle to weave the loose ends securely through the back of your stitches.
Simple Color Ideas for Granny Squares
For a classic look, try using one color for each round. You can also alternate two colors or use several shades from the same color family.
If you are making granny square crochet patterns for a blanket or another larger project, keeping a consistent color sequence can help all your squares look cohesive when they are joined together.
Tip: Avoid carrying unused yarn across the back of the square unless the pattern specifically calls for it. Cutting the yarn and weaving in the ends usually gives a cleaner finish, especially when making colorful crochet granny square patterns.
Tips for Keeping Your Granny Square Flat
A granny square should normally lie flat as you work each round. If your square starts to curl, cup or become wavy, the problem is usually related to yarn tension, stitch placement or hook size. These simple tips can help you get a cleaner result.
Keep Your Tension Consistent
Try to keep your stitches relaxed and even throughout each round. Pulling the yarn too tightly can make the square curl or cup, while very loose stitches can make it wavy.
Check Your Corner Spaces
The corners are important in a basic granny square pattern. Make sure you work the correct number of stitches and chain spaces into every corner. Missing a corner space can quickly change the shape of your square.
Use the Right Crochet Hook
If your square feels too tight or does not lie flat, try going up one hook size. If it looks very loose or wavy, a slightly smaller hook may help. Always check the yarn label for the recommended hook range as a starting point.
Count Your Clusters
As your square grows, check that each side has the expected number of clusters. Uneven stitch counts can cause the square to lose its shape.
Block the Finished Square
Blocking can help straighten the edges and give your granny square a more defined shape. Lightly dampen the finished square, gently shape it into a square and let it dry completely before removing it from the blocking surface.
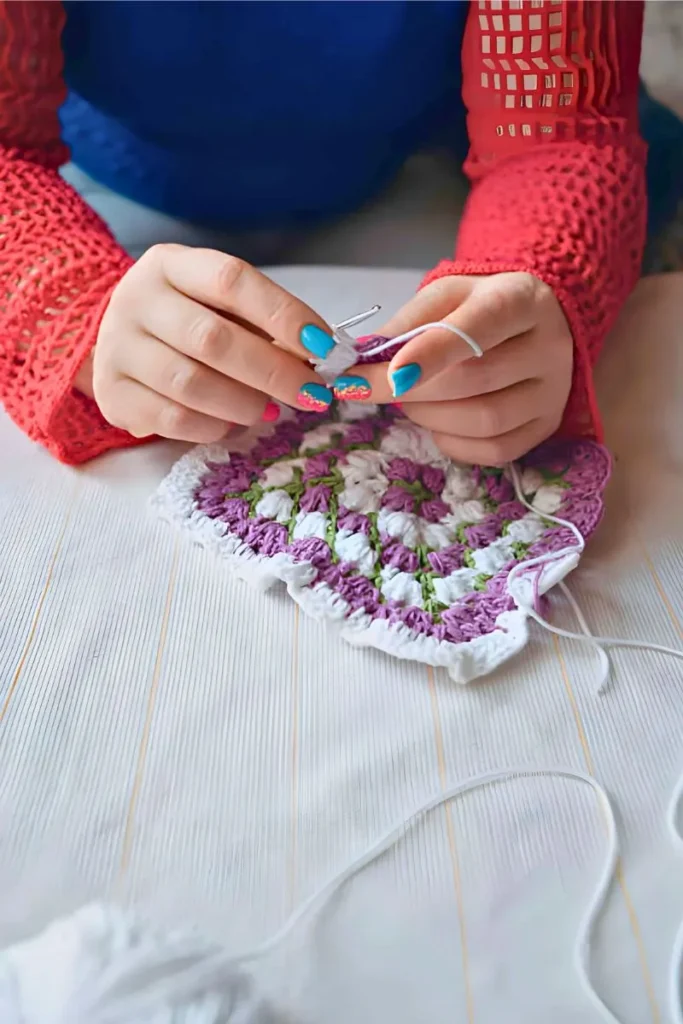
Quick tip: If you are following this easy basic granny square crochet pattern and your square is slightly uneven after a few rounds, don’t undo it immediately. First check your tension, corners, and stitch placement. Small imperfections often become easier to correct as you gain practice.
Free Granny Square Crochet Pattern Ideas
Once you are comfortable with the basic granny square, there are many simple ways to experiment with different colors, sizes, and designs. You do not need to learn a completely new technique to create something different.
Try Different Color Combinations
One of the easiest ways to create a new look is to change the yarn color after each round. You can use contrasting colors for a bold design or choose several shades from the same color family for a softer look.
Make Your Granny Square Larger
The same free granny square crochet pattern can be extended by adding more rounds. Simply continue the same corner and side-cluster pattern until you reach the size you need.
Combine Multiple Squares
Make several granny squares using the same or different color combinations, then join them together to create larger projects. Blankets, bags, cushion covers and scarves are all popular ways to use individual squares.
Explore More Free Patterns
Once you have mastered this basic design, you can experiment with other free crochet granny square patterns featuring flowers, textured stitches, geometric shapes and more detailed color changes.
If you are looking for granny square patterns free of charge, start with simple designs that use stitches you already know. Learning one basic square first makes it much easier to understand more advanced patterns later.
Beginner tip: Save this basic pattern as a reference and practice making several squares with different yarn colors. Repetition will help you improve your tension and stitch consistency before moving on to more complicated designs.
Common Granny Square Mistakes
Even a simple granny square crochet pattern can feel tricky when you are making your first few squares. Most beginner mistakes are easy to fix once you know what to look for.
Your Granny Square Is Curling
If the edges are curling upward, your stitches may be too tight. Try relaxing your tension or using a slightly larger crochet hook. Make sure you are not pulling the yarn tightly after every stitch.
Your Granny Square Is Wavy
A wavy square can happen when your stitches are too loose or when extra stitches have been added accidentally. Check each round carefully and make sure you are following the same stitch and chain pattern throughout the square.
The Corners Look Uneven
The corners should have the same stitch structure on every side. In this pattern, each corner uses 3 double crochet, chain 2 and 3 double crochet. Missing part of a corner cluster can make the square look uneven.
Your Square Is Not Actually Square
If the shape starts looking more like a circle or rectangle, check your corner spaces first. Every round needs clearly defined corners and the clusters between those corners should be worked in the correct spaces.
Your Squares Are Different Sizes
When making several squares for the same project, use the same yarn weight and crochet hook whenever possible. Your tension also affects the finished size, so try to keep your stitches consistent from one square to the next.
The Loose Ends Keep Coming Out
After finishing your crochet granny square pattern, weave each yarn tail securely through several stitches on the back of the square. Avoid simply trimming the end close to the stitches, as it may work loose with use.
Beginner tip: If your first granny square is not perfect, don’t worry. Make a few more squares before changing your technique. Consistent practice is one of the easiest ways to improve your tension and stitch placement.
Frequently Asked Questions
How do you crochet a granny square for beginners?
Start with a magic ring or a small chain ring, then work groups of double crochet stitches around the center. Build each round by adding clusters to the corners and sides. Following a simple granny square crochet pattern and keeping your tension consistent makes the process much easier for beginners.
What is the easiest granny square pattern?
A classic granny square is one of the easiest designs to learn because it uses basic stitches and a repeating structure. The easy basic granny square crochet pattern in this guide is a good starting point before trying more detailed designs.
How many rounds should a granny square have?
There is no fixed number of rounds. A small granny square may only need three or four rounds, while a larger square can have many more. Continue adding rounds until your square reaches the size you need for your project.
What yarn is best for granny squares?
Medium weight, smooth yarn is a good choice when learning how to crochet a granny square because the stitches are easy to see. Acrylic and cotton yarns are both commonly used, depending on the project and the finish you want.
Why is my granny square curling?
Curling is usually caused by tight tension, an unsuitable hook size, or incorrect stitch placement. Try loosening your tension, checking your corner spaces and using a slightly larger hook if the stitches feel too tight.
Can I make a granny square bigger?
Yes. You can make a granny square larger by continuing to add rounds using the same basic pattern. Work clusters along the sides and create two clusters separated by a chain space at each corner. This allows you to turn a small crochet granny square pattern into a larger square for blankets, bags and other projects.